The First Food Walk in Coimbatore R.S Puram on 23rd September 2013

The First Ever Food walk in and around  R S Puram Coimbatore on 23rd September 2013

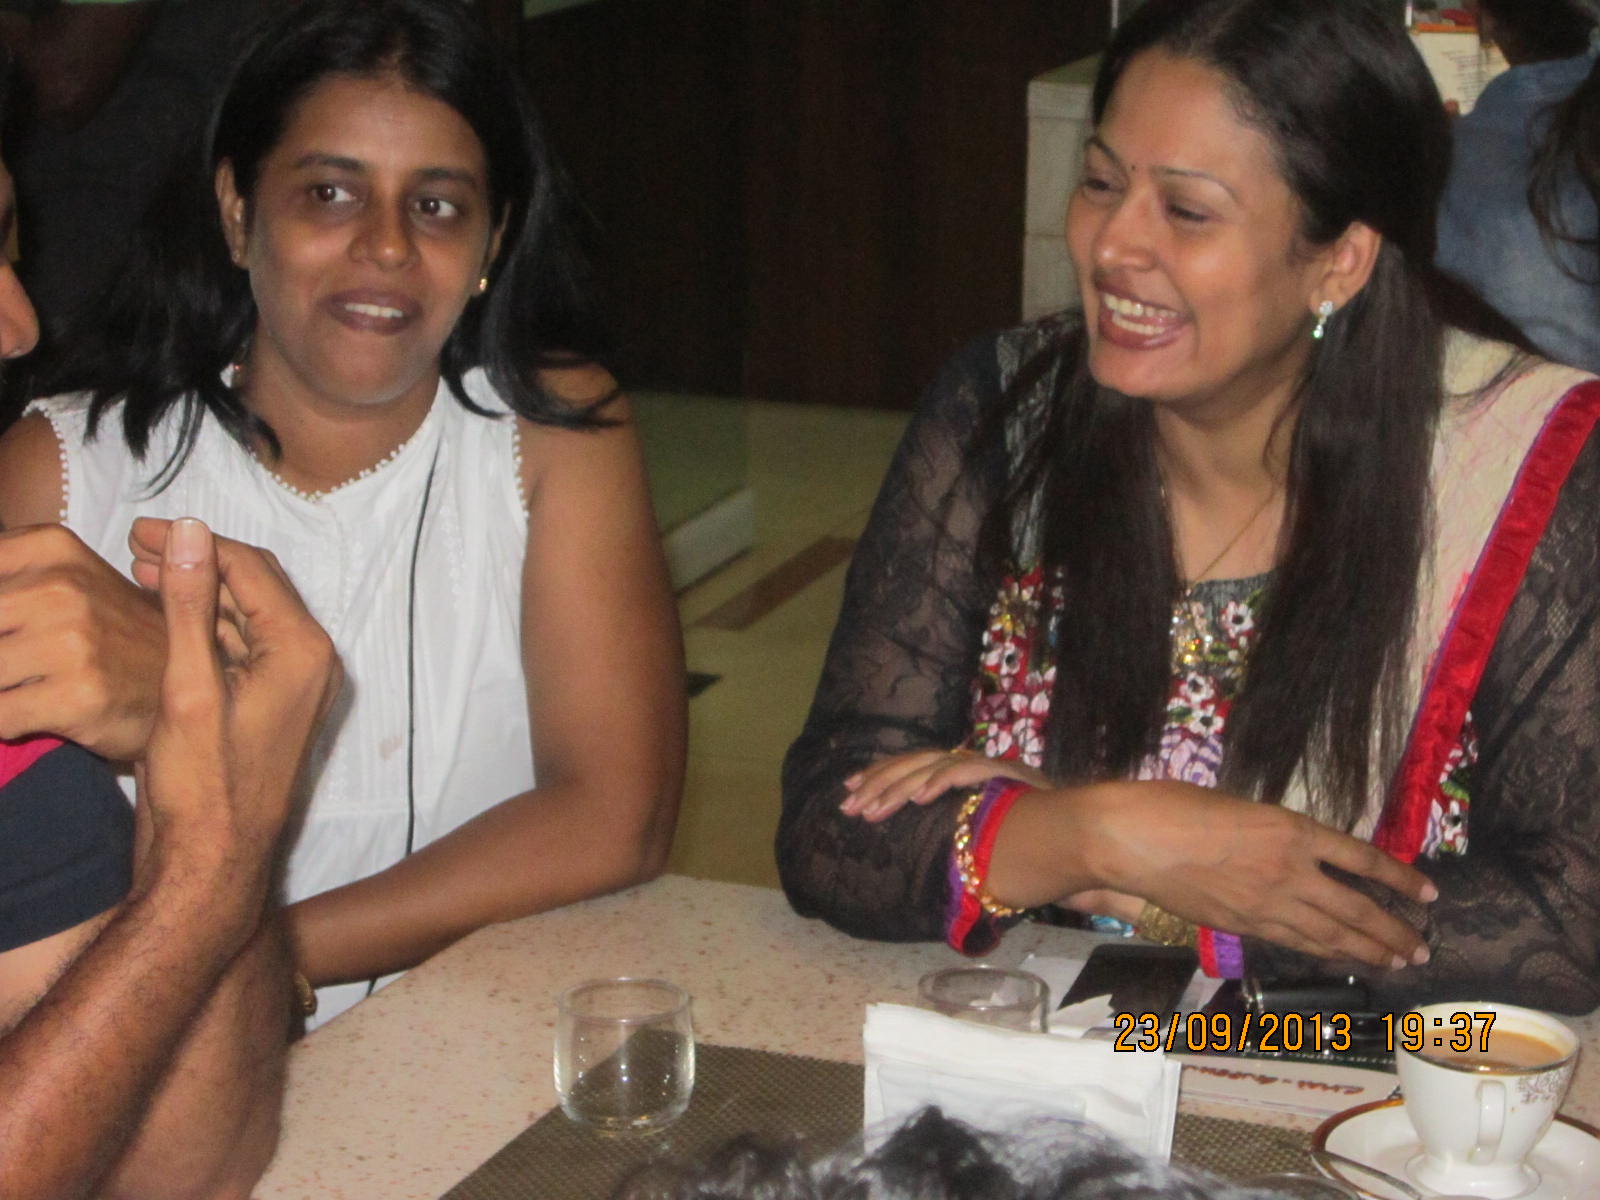
The “Food Walkers” of Coimbatore met at the “A-1 Snack Street” at Venkataswamy Road(E), R S Puram at 5 PM and the pleasant weather was a combo. Since it was the first time such an event was organized, some of the foodies were excited and some were apprehensive, nevertheless the attendance was impressive.  Though, my interaction with some of the foodies were limited to FB and phone, I was excited to meet them in person. Believe me, it was one my memorable trip to Coimbatore in the last 15 years. People started walking in, one by one, and after getting to know each other,  we met the young entrepreneur Sudeesh who is in charge of A-1 Snack street, a dynamic young man, explained their specialty and signature dishes.

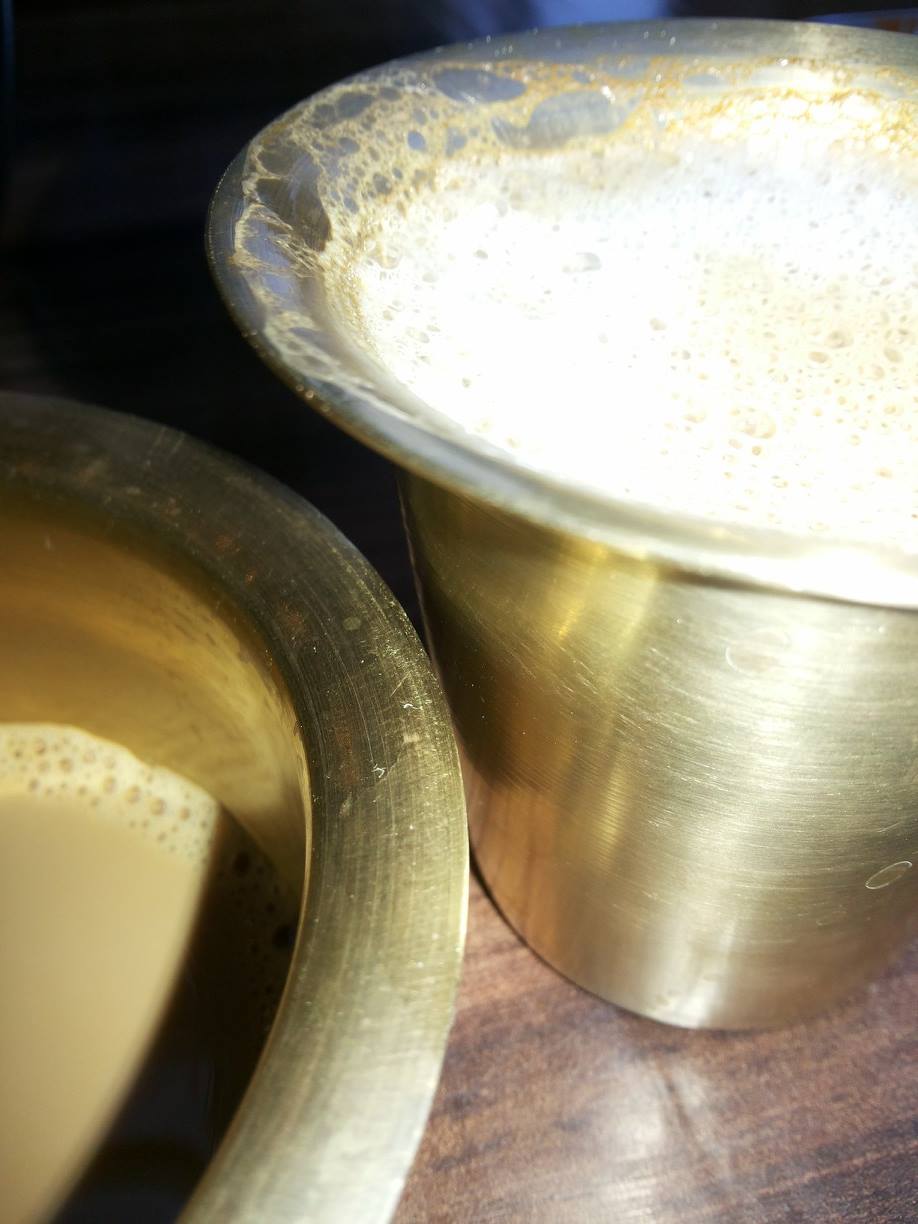
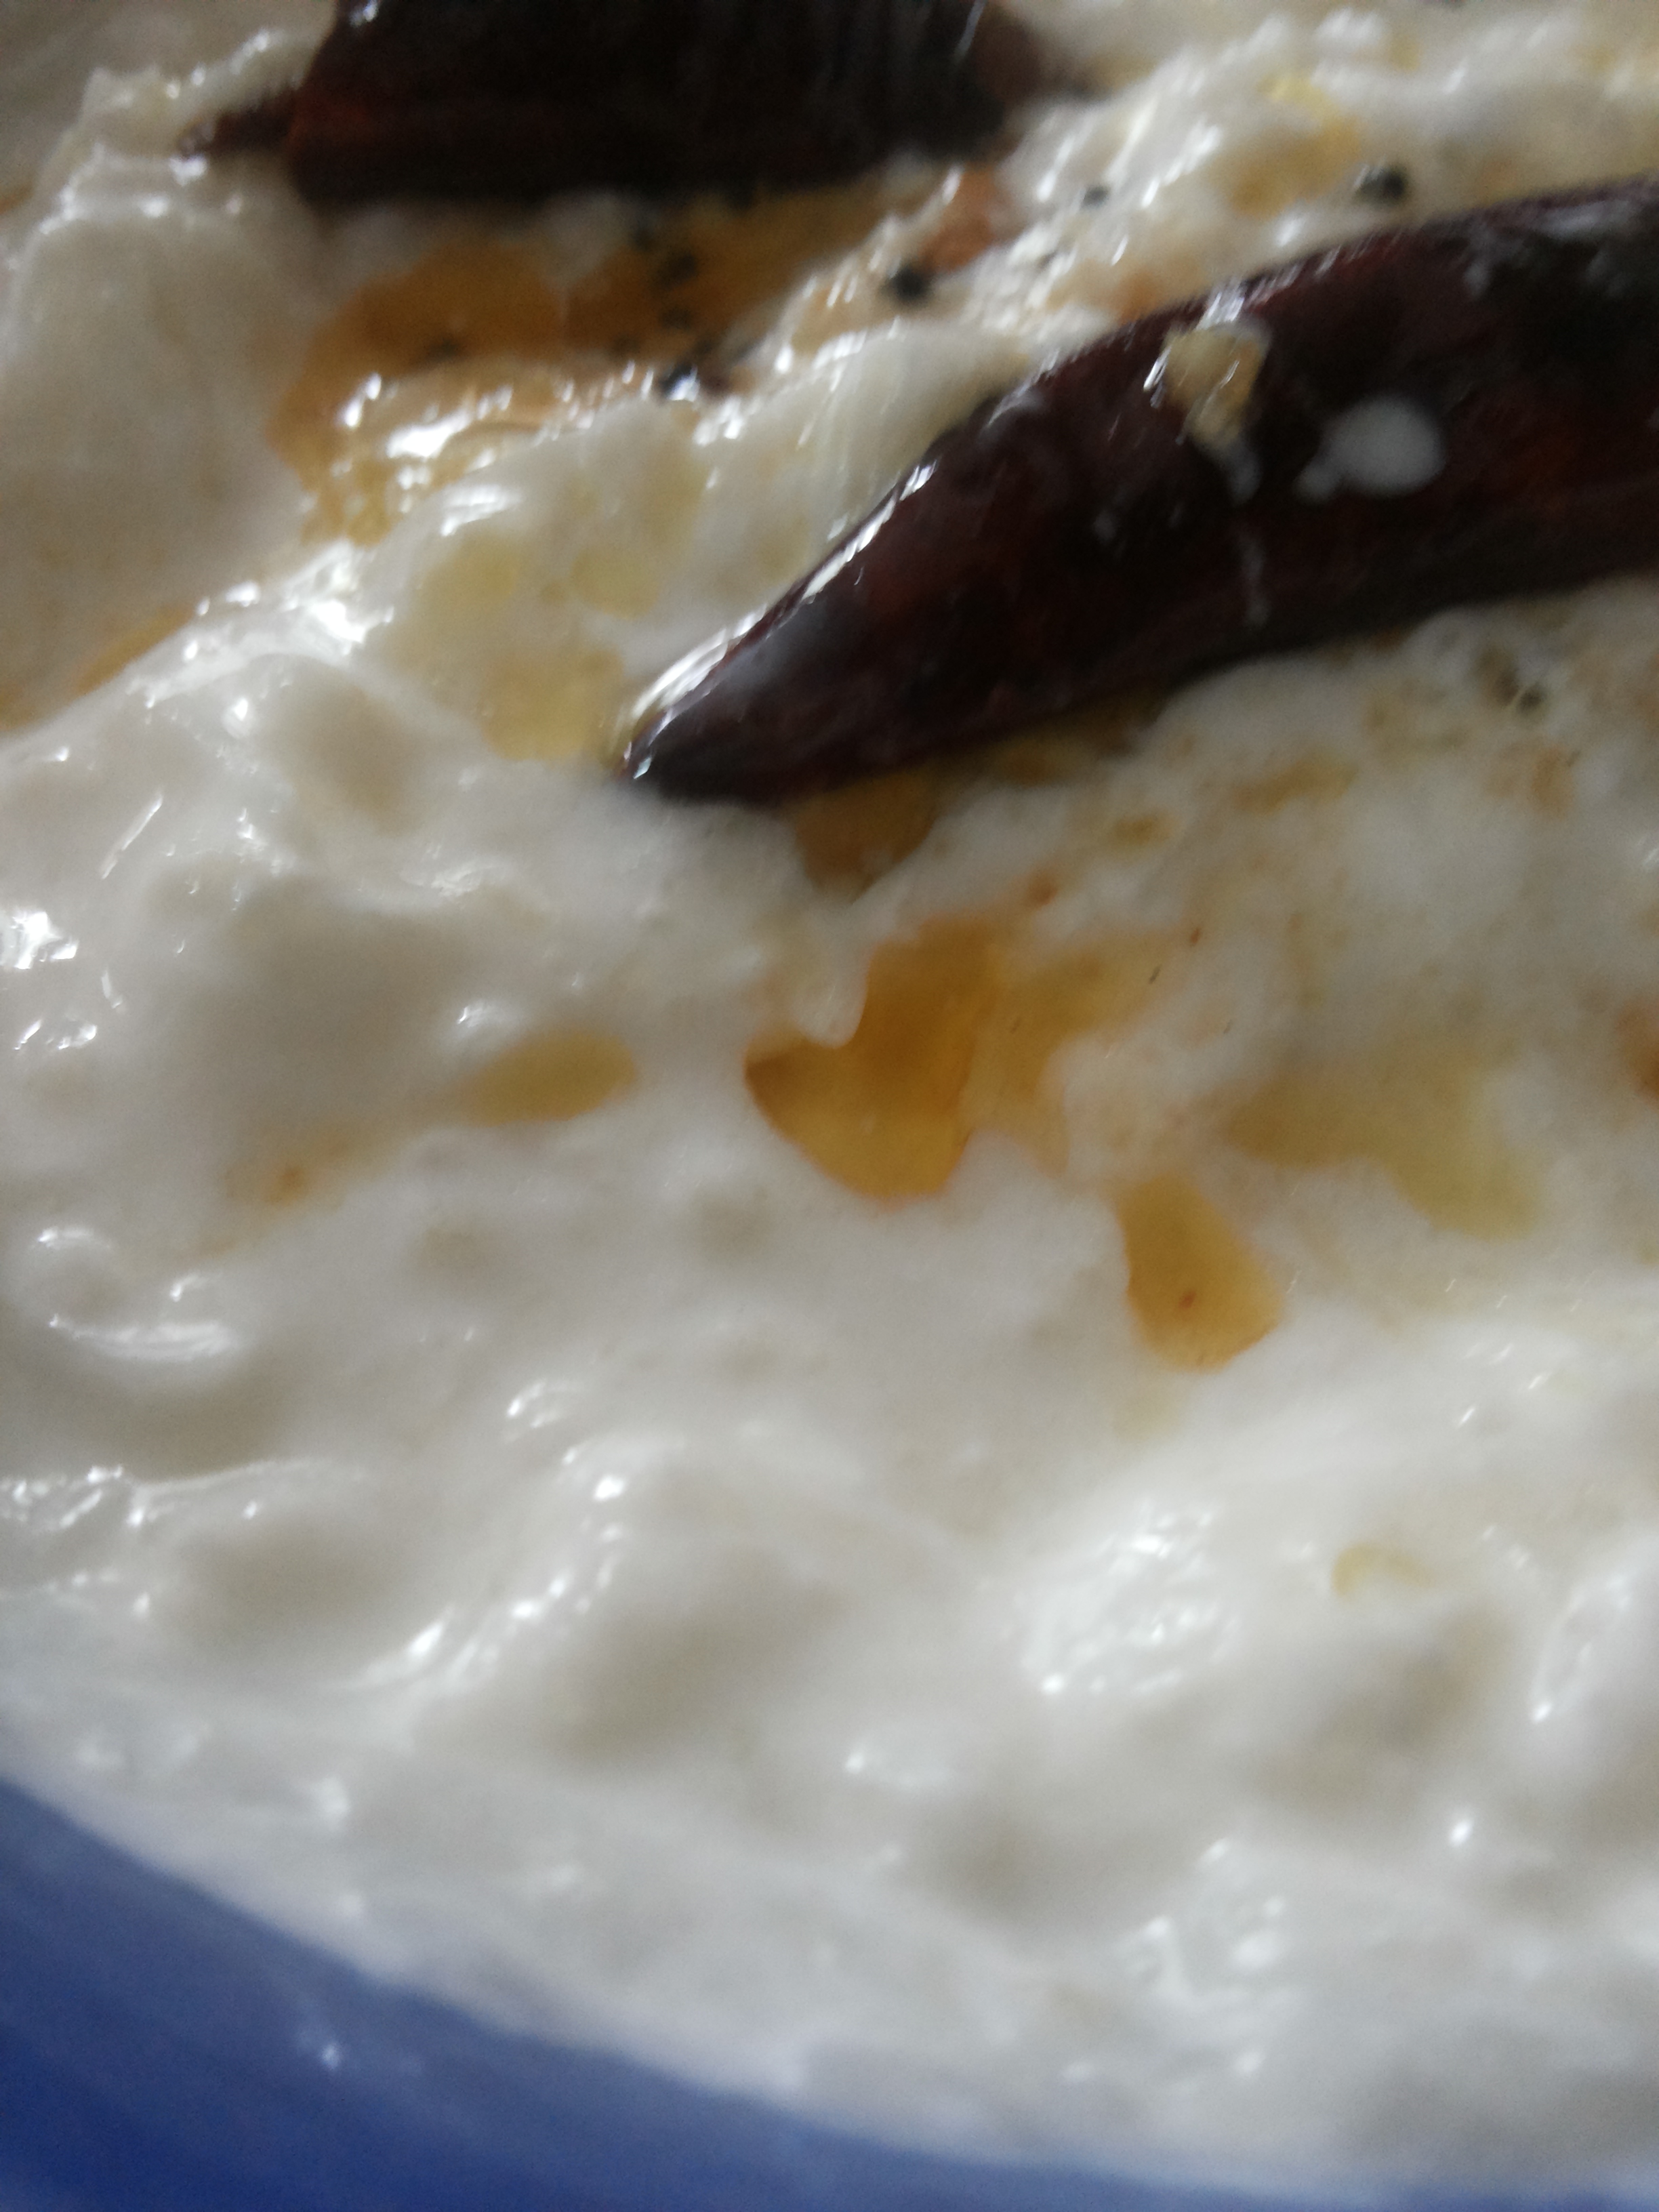
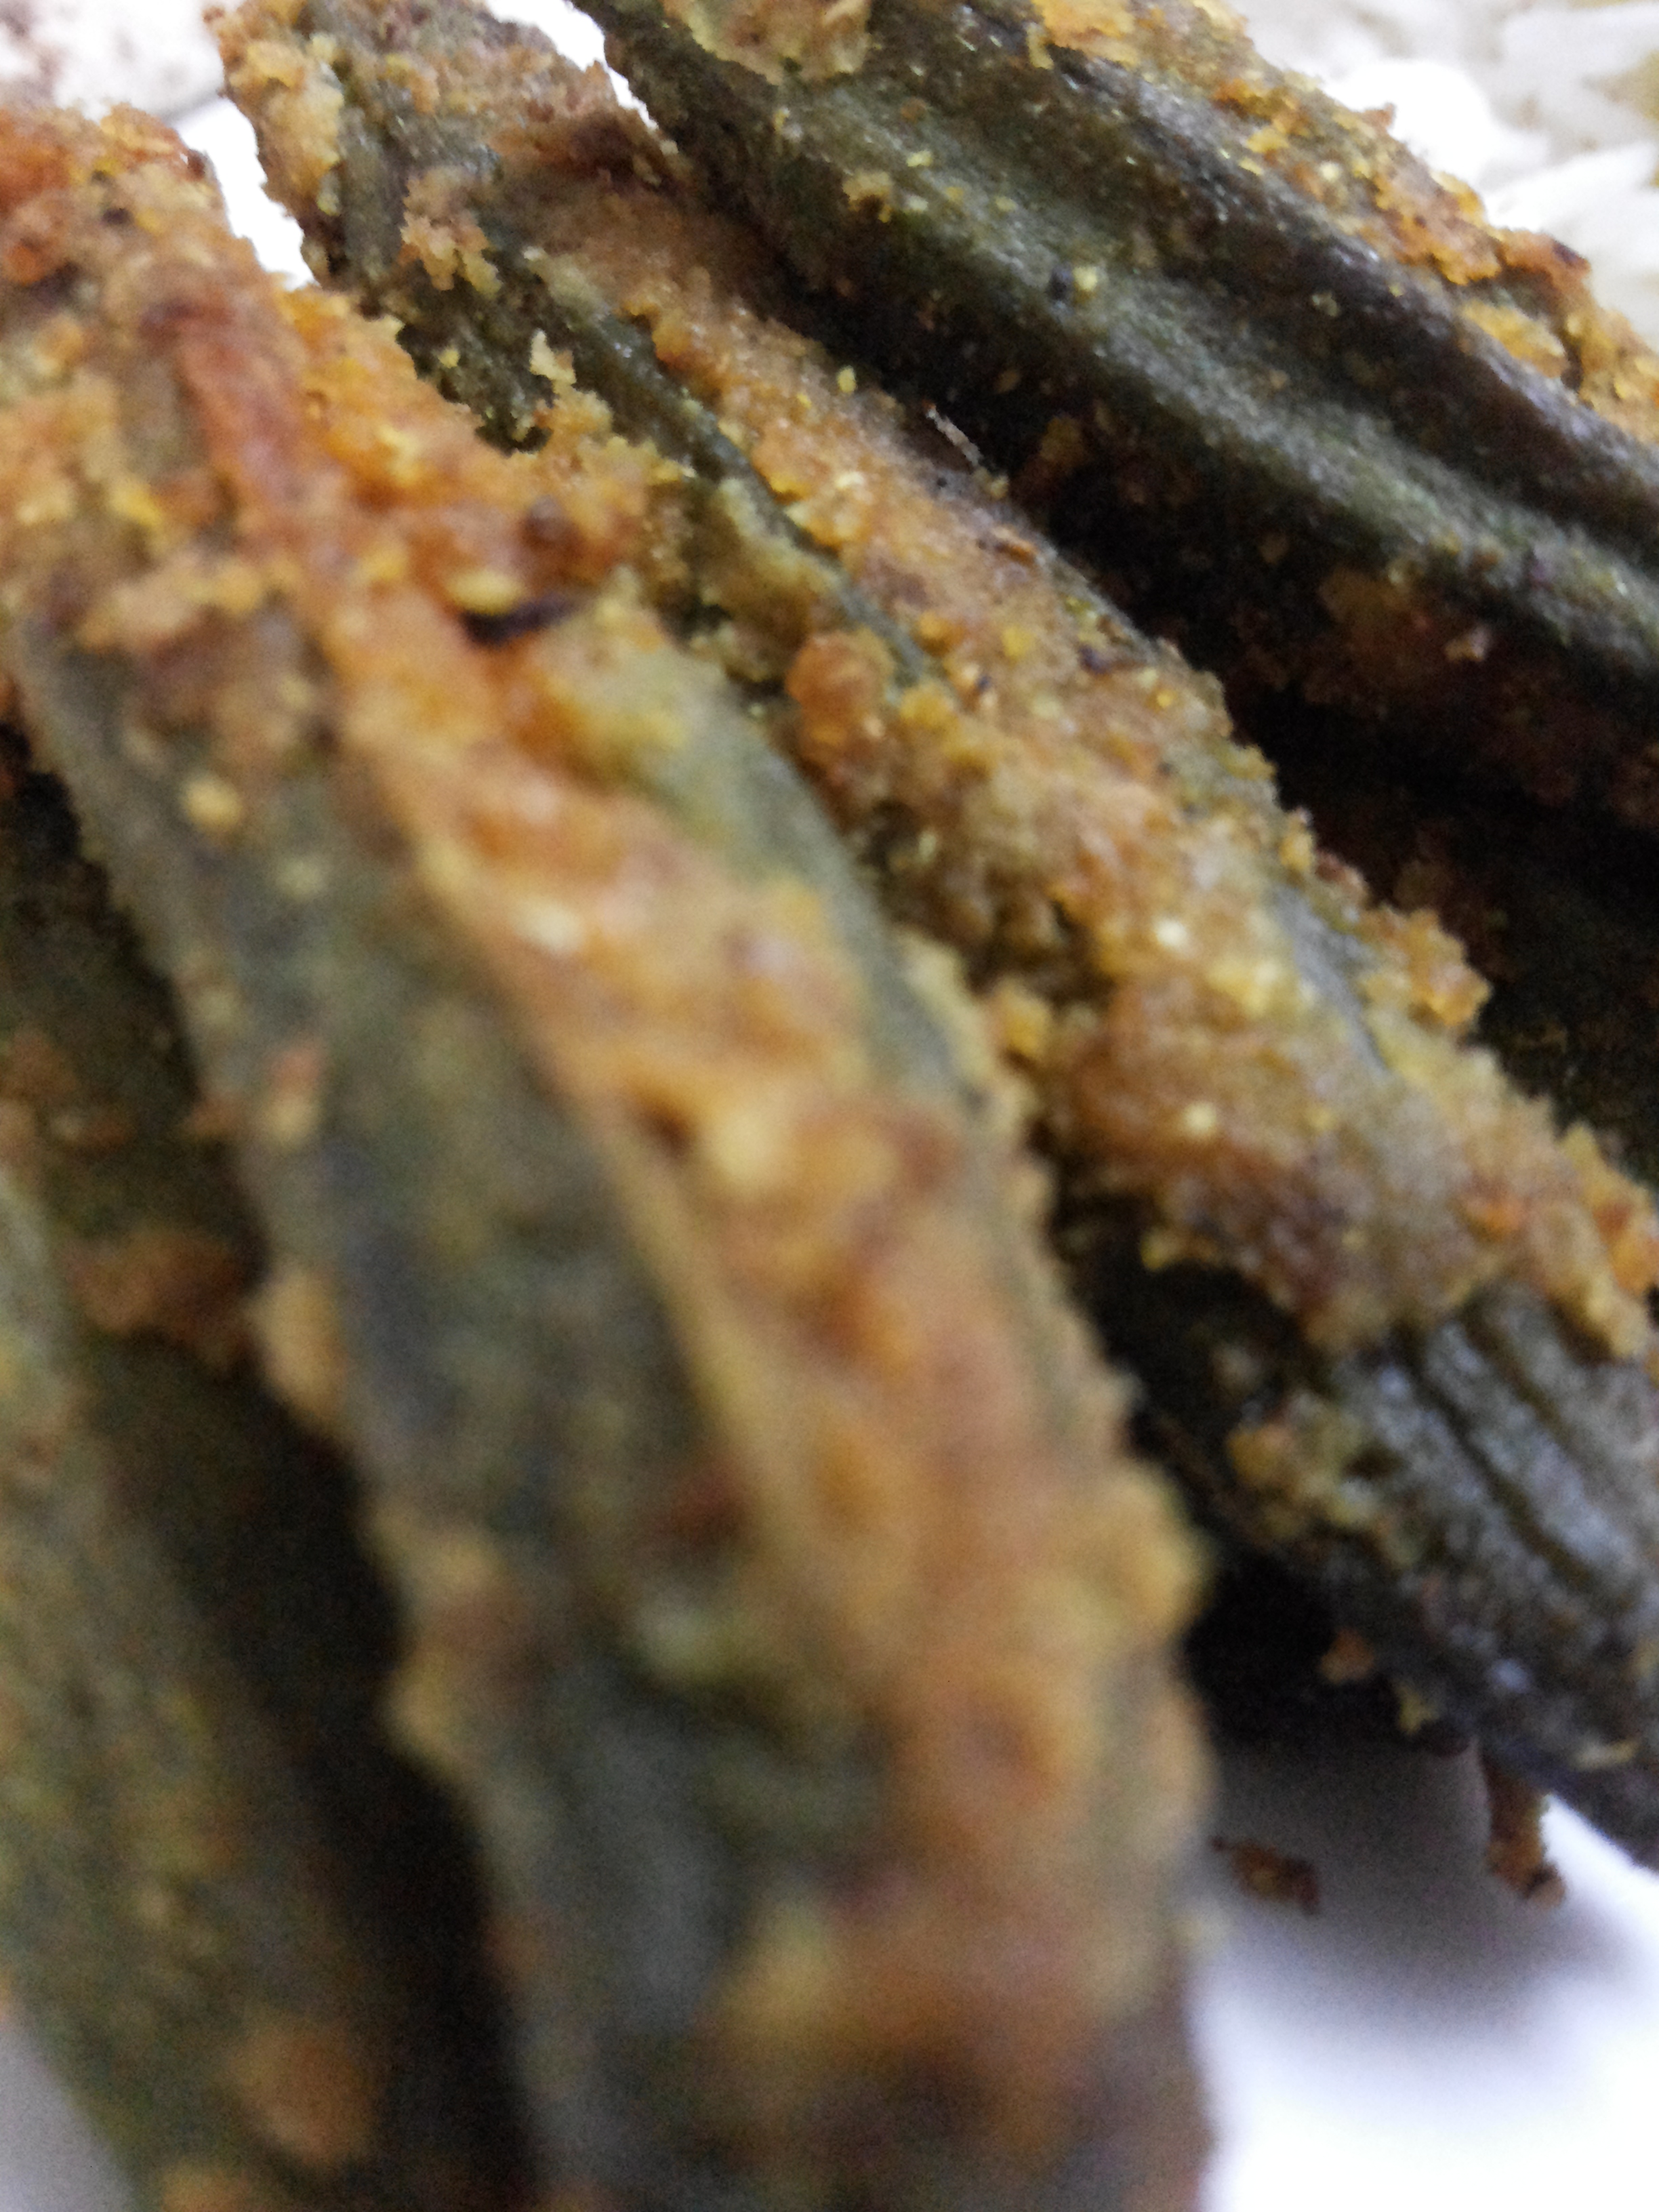
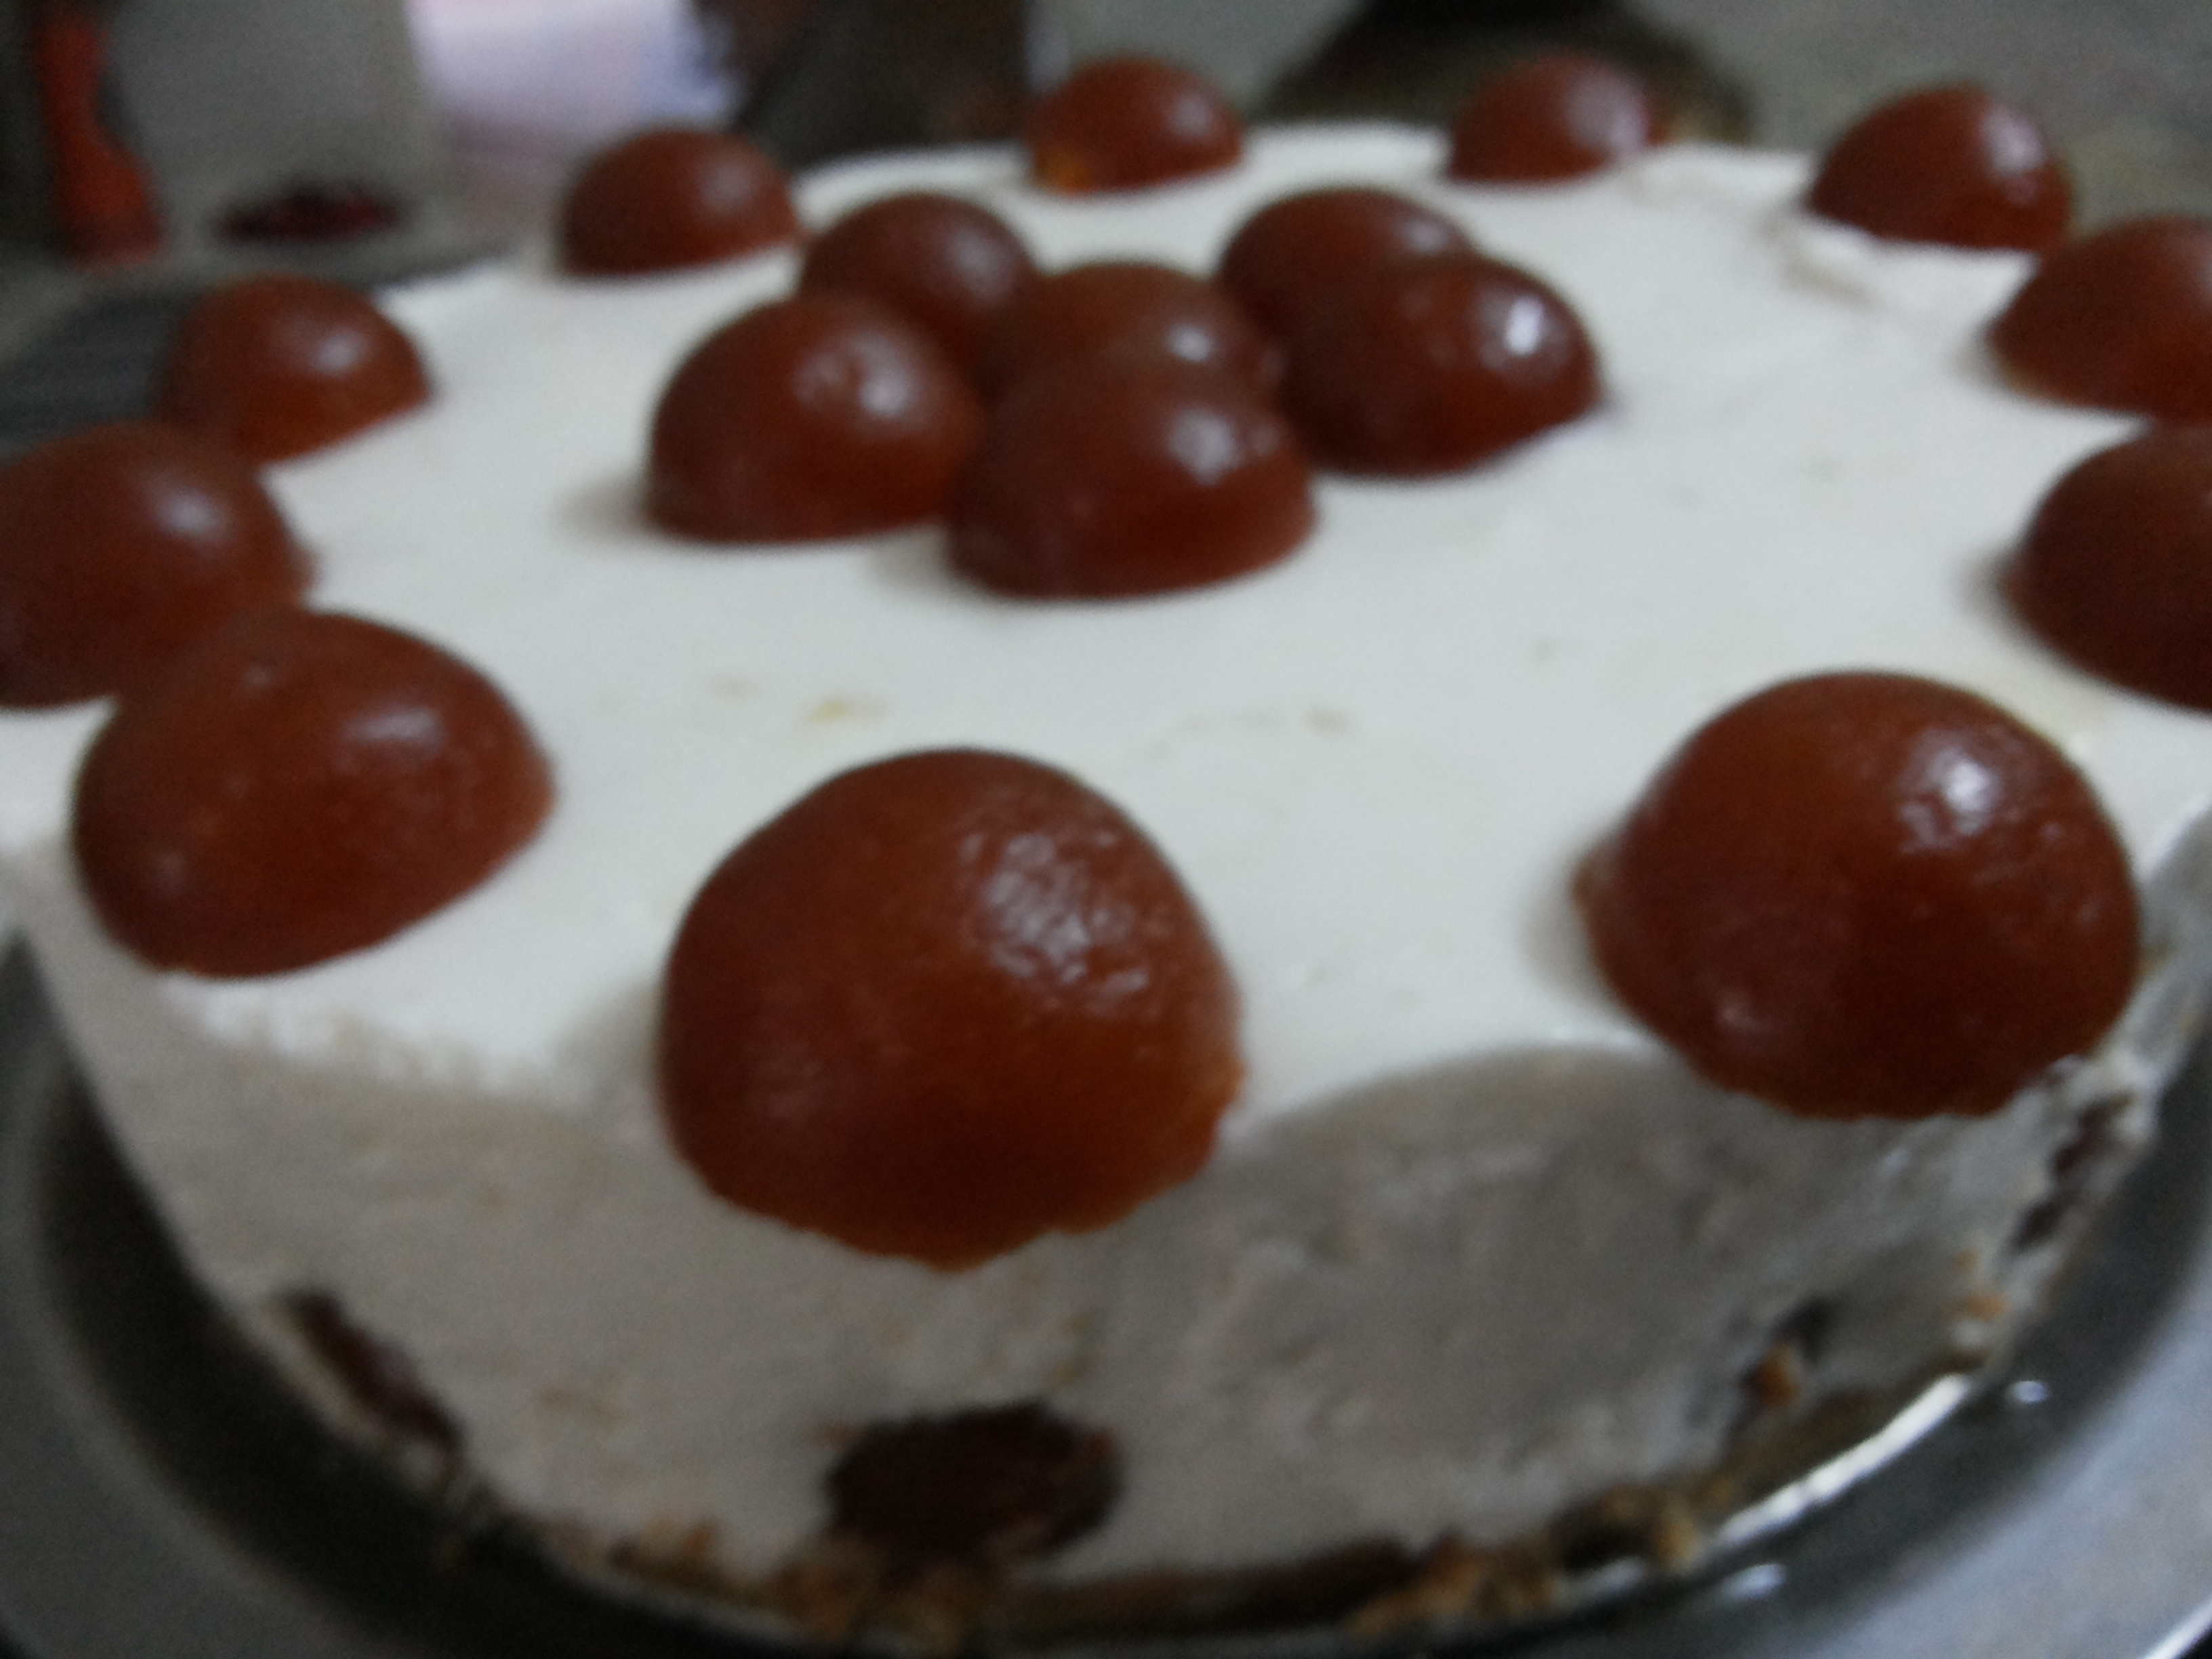
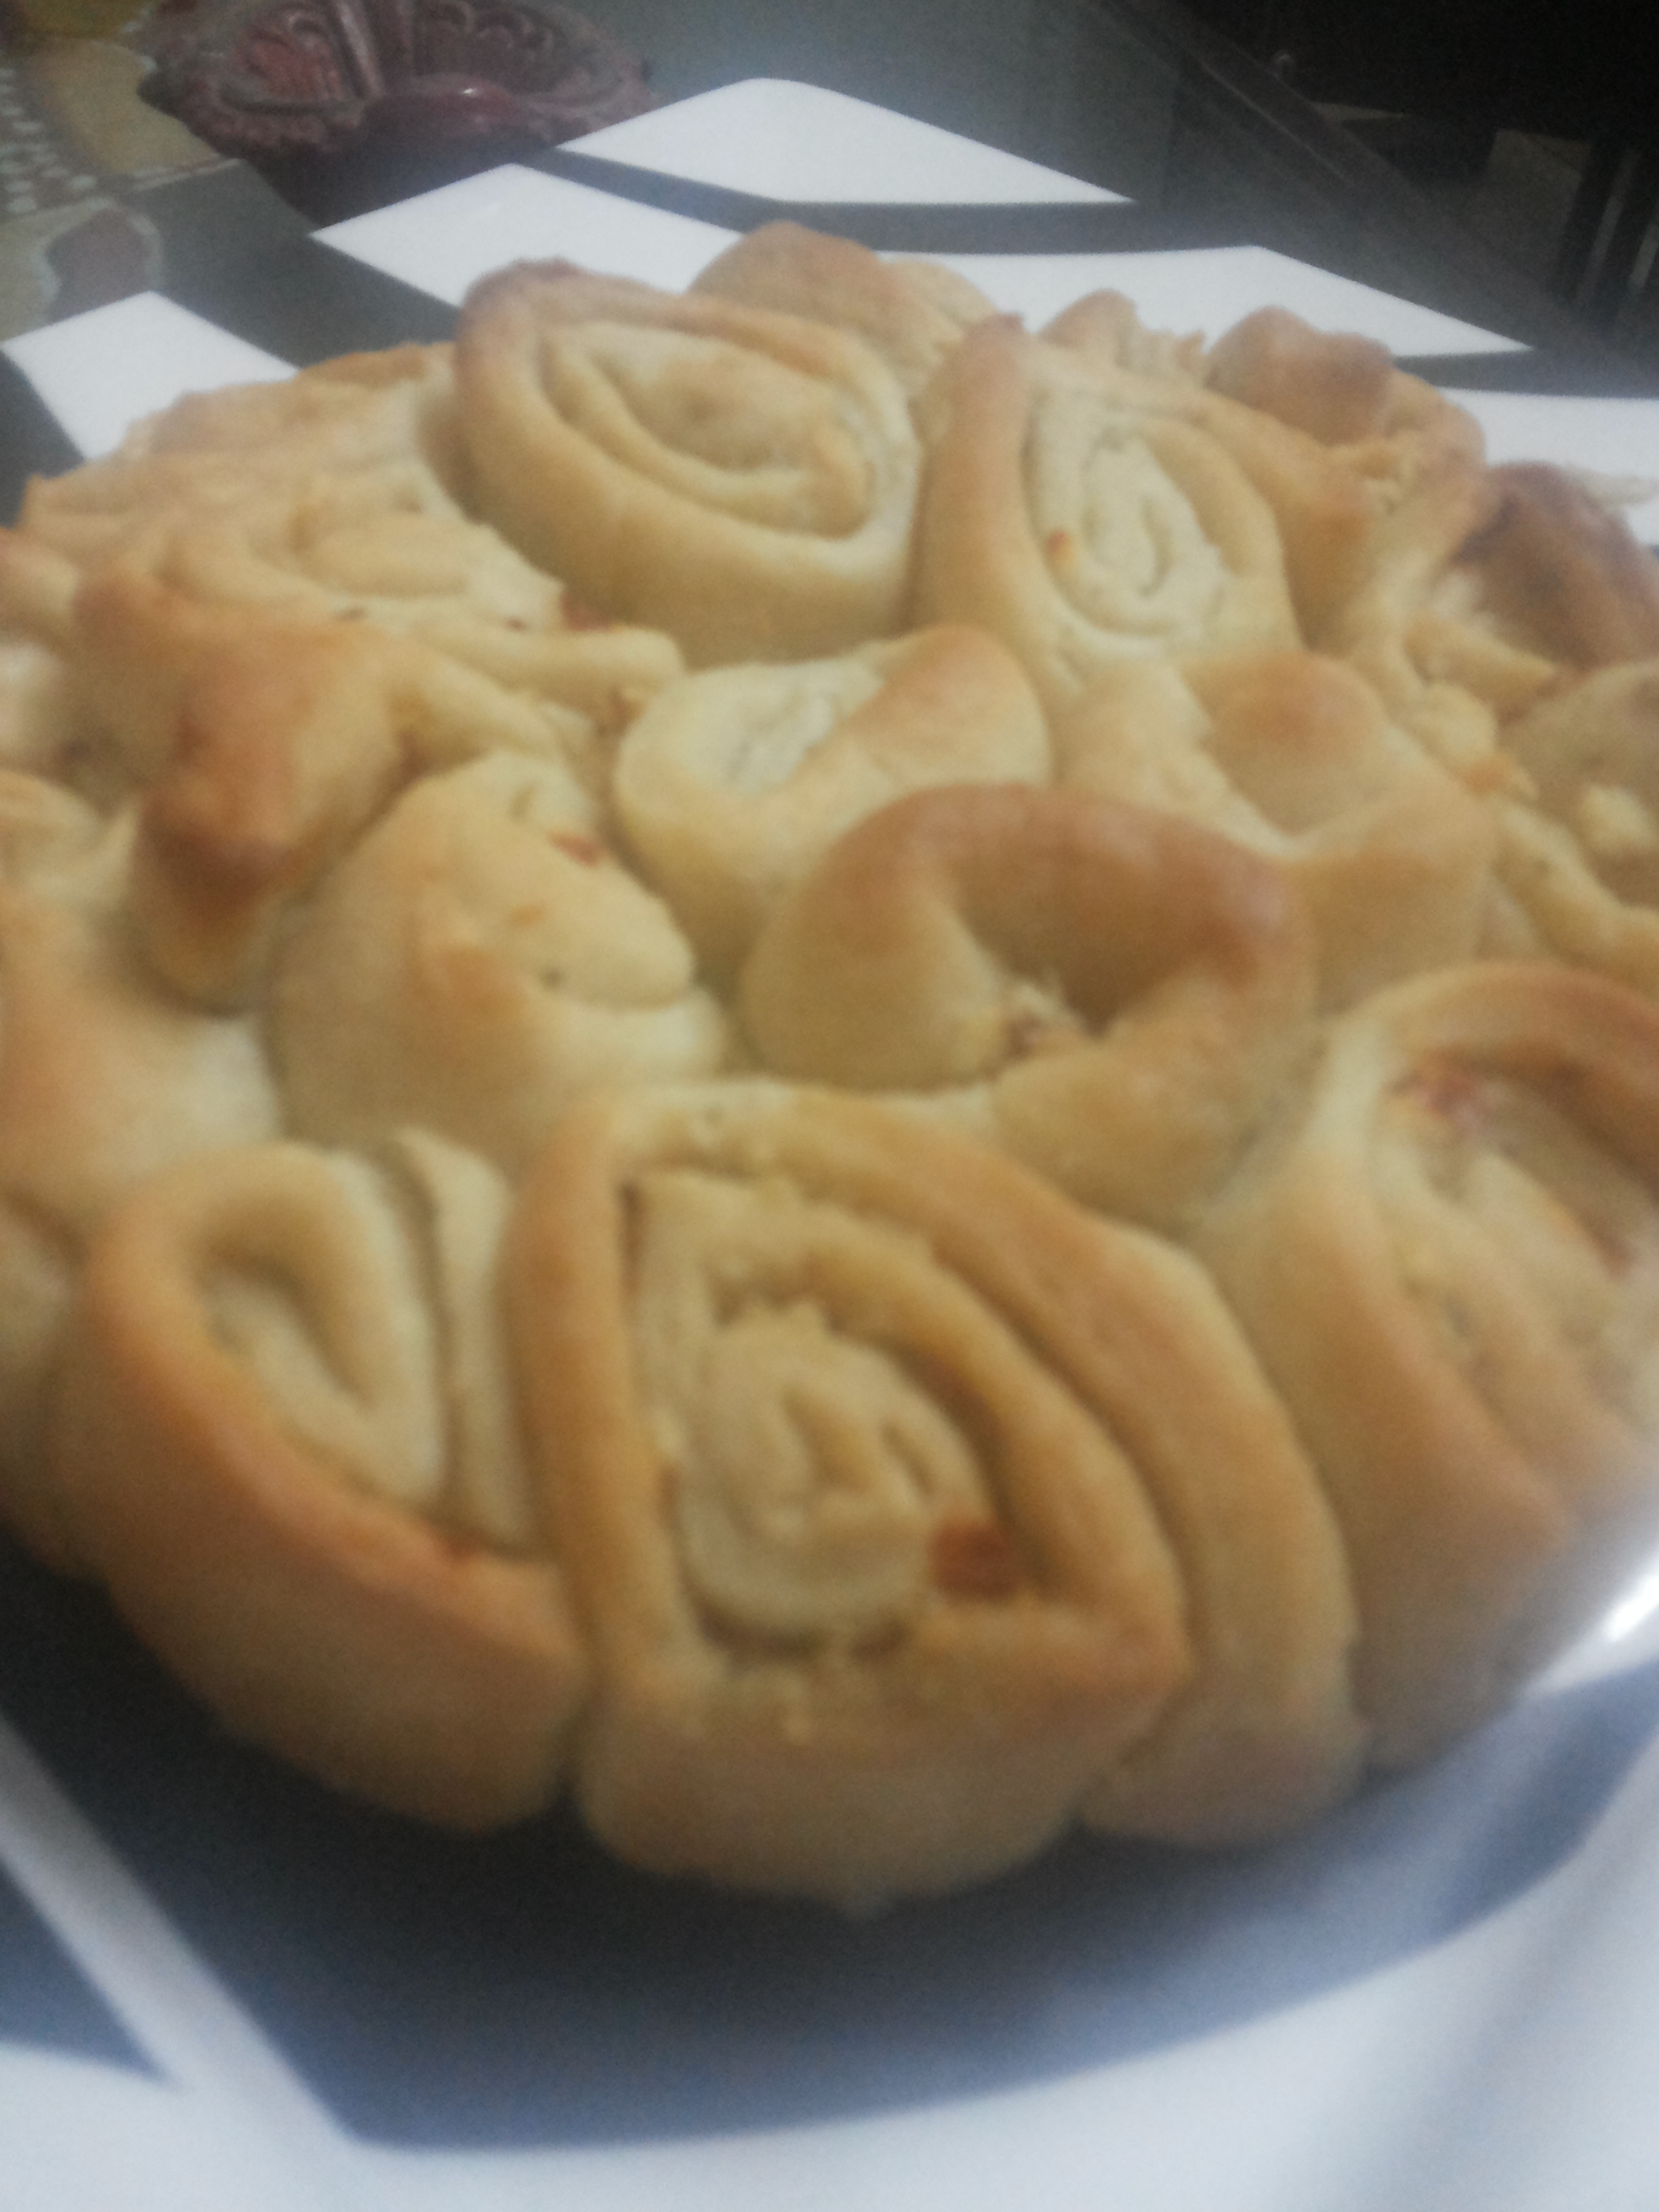
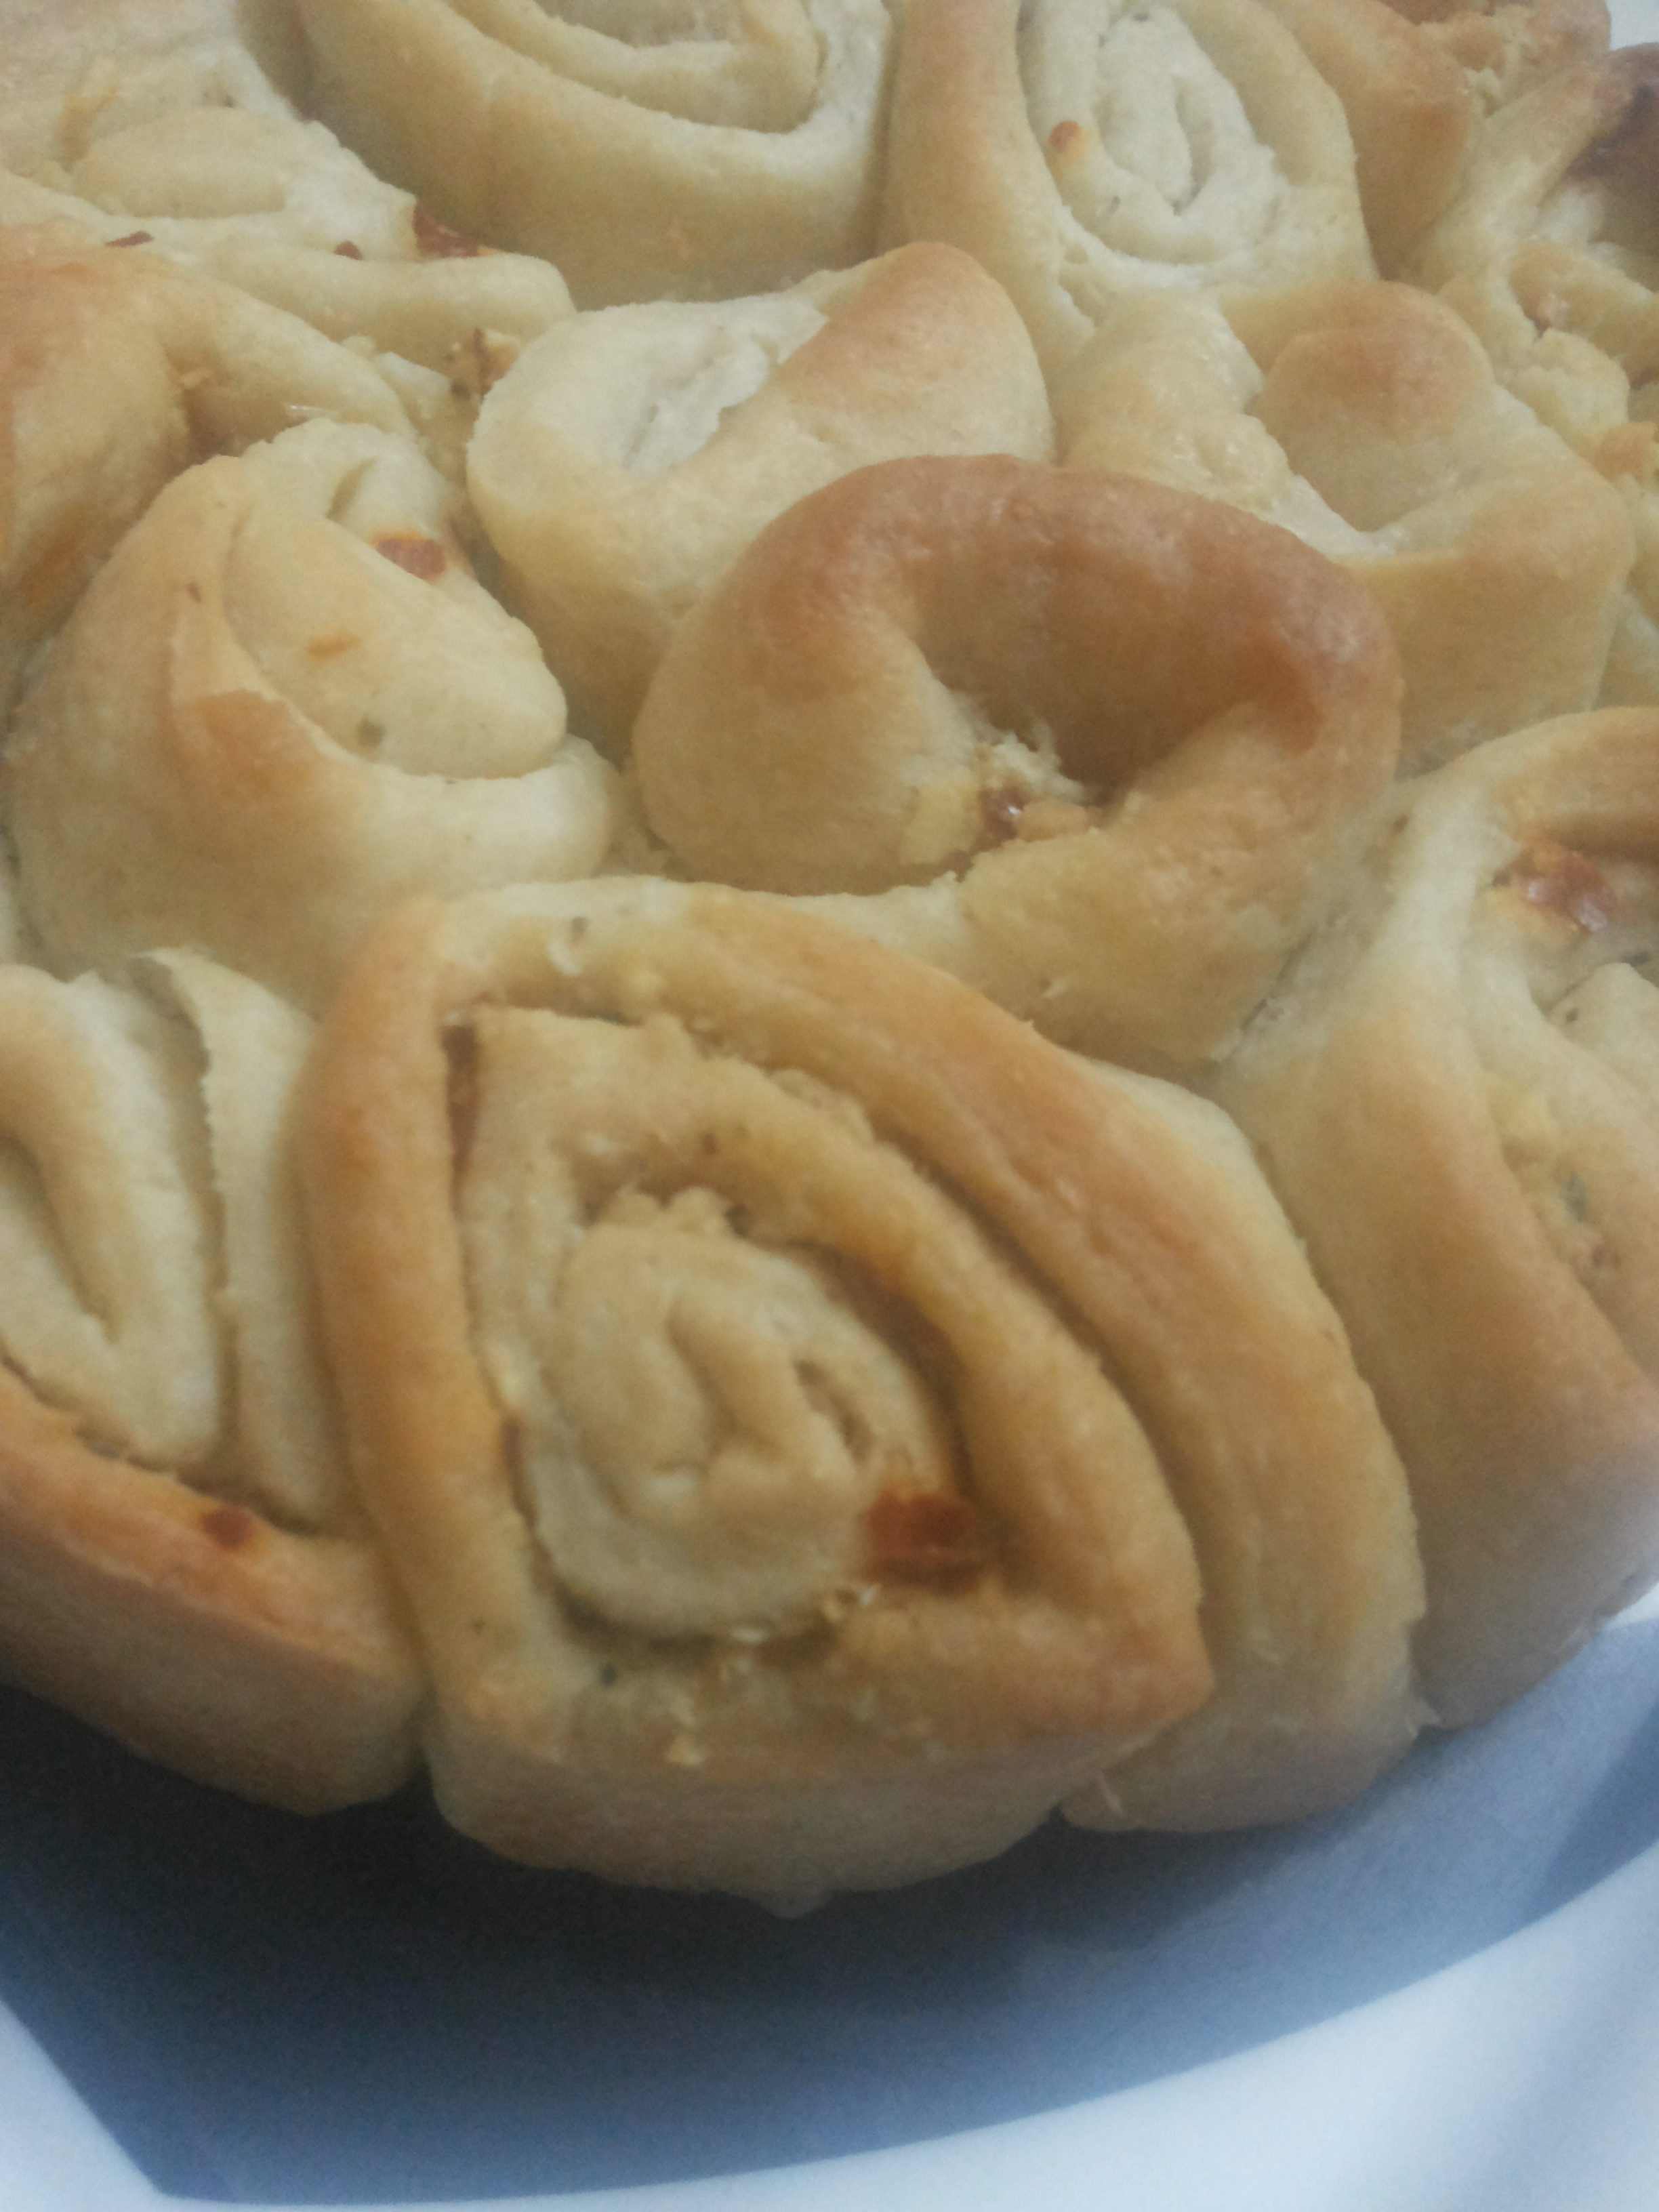
The first suggestion from their menu was “Paniyaram” which came piping hot with 5 different chutney’s, with their signature date and ginger chutney  (shhh….grandmother’s recipe), that left an unforgettable taste in our taste buds. Few us tried their “Butter Appam” and chats, every bit was truly a value for money item with quality and quantity. We had to sign off with an authentic filter coffee…what else!!, believe me, it was served in a traditional brass “davara-set”, and the coffee was amazing.  Not to miss are the wall paintings of film stars and ambience.

Kick starting the walk at A-1, local foodies recommended “Shree Kulfi house”, off  DB Road, behind Rajasthani Sangh.. Though I have lived most of my life in Mumbai and tasted some of the best kulfi’s and Gola’s, but the one’s at Shree were absolutely awesome. The Gola syrup was nice and subtle, The Falooda Kulfi was nice.

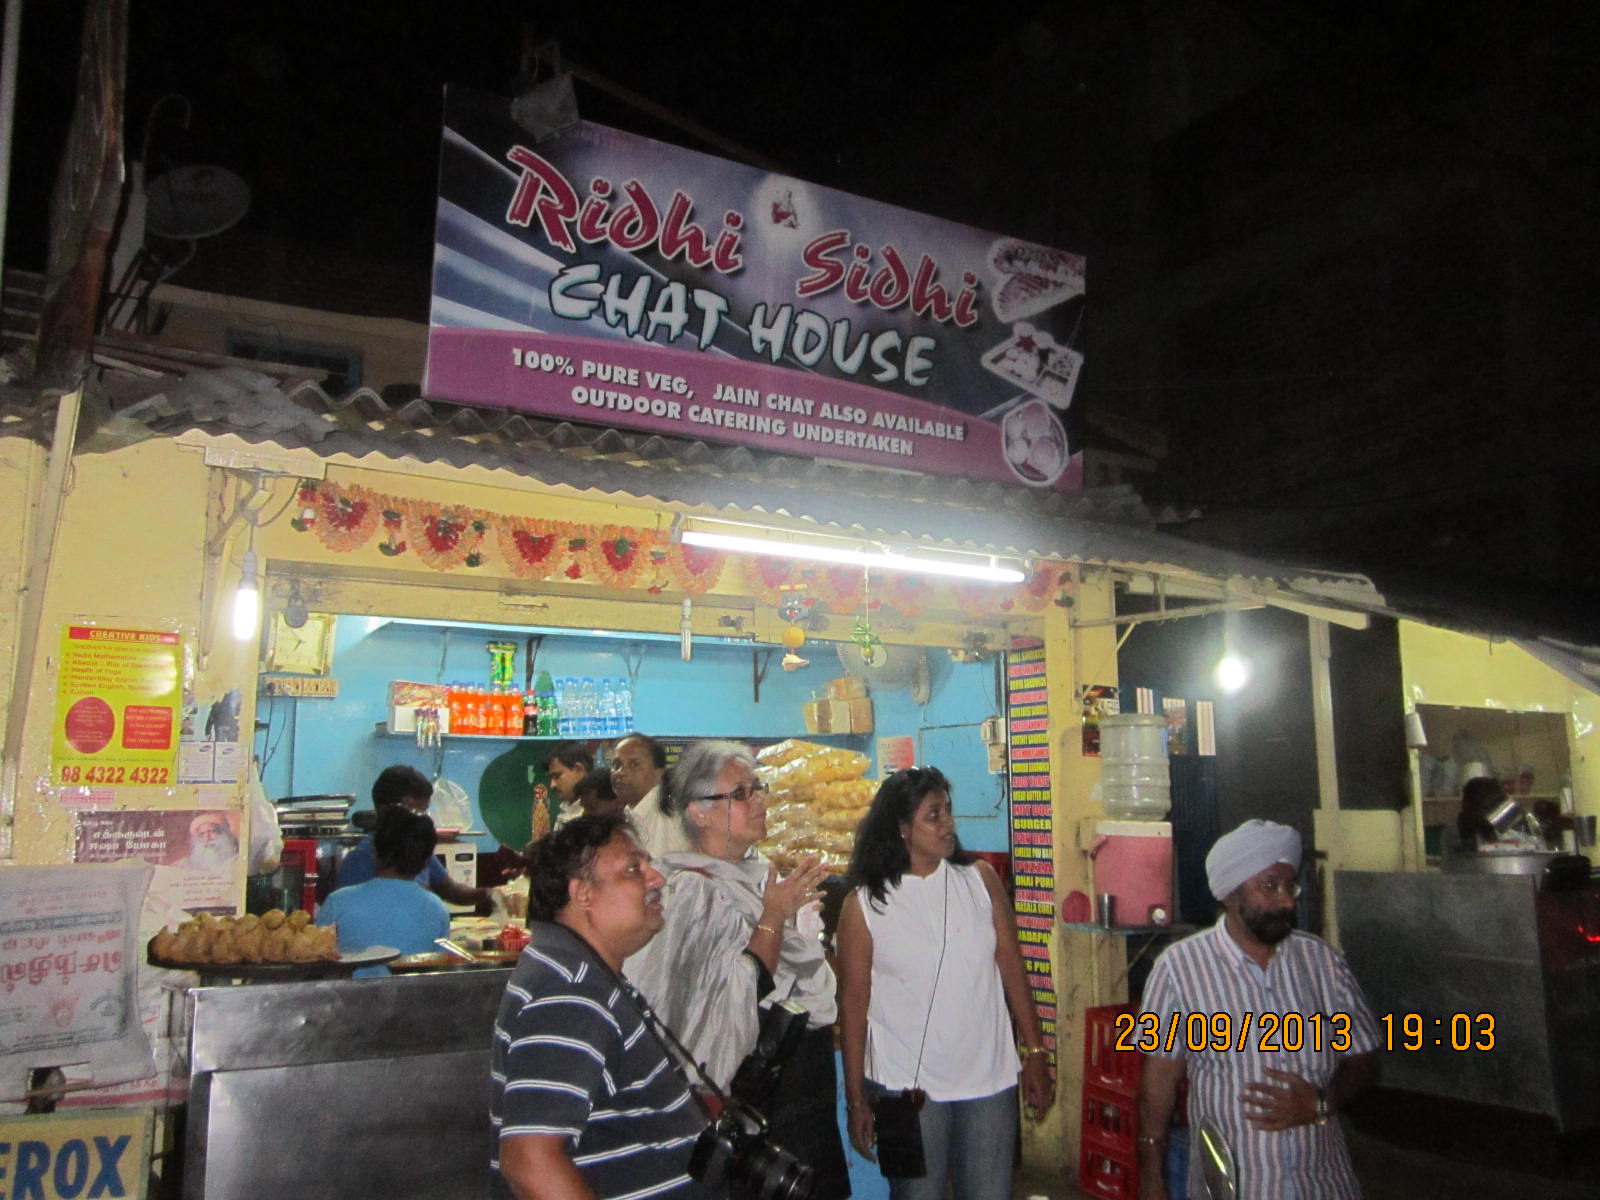
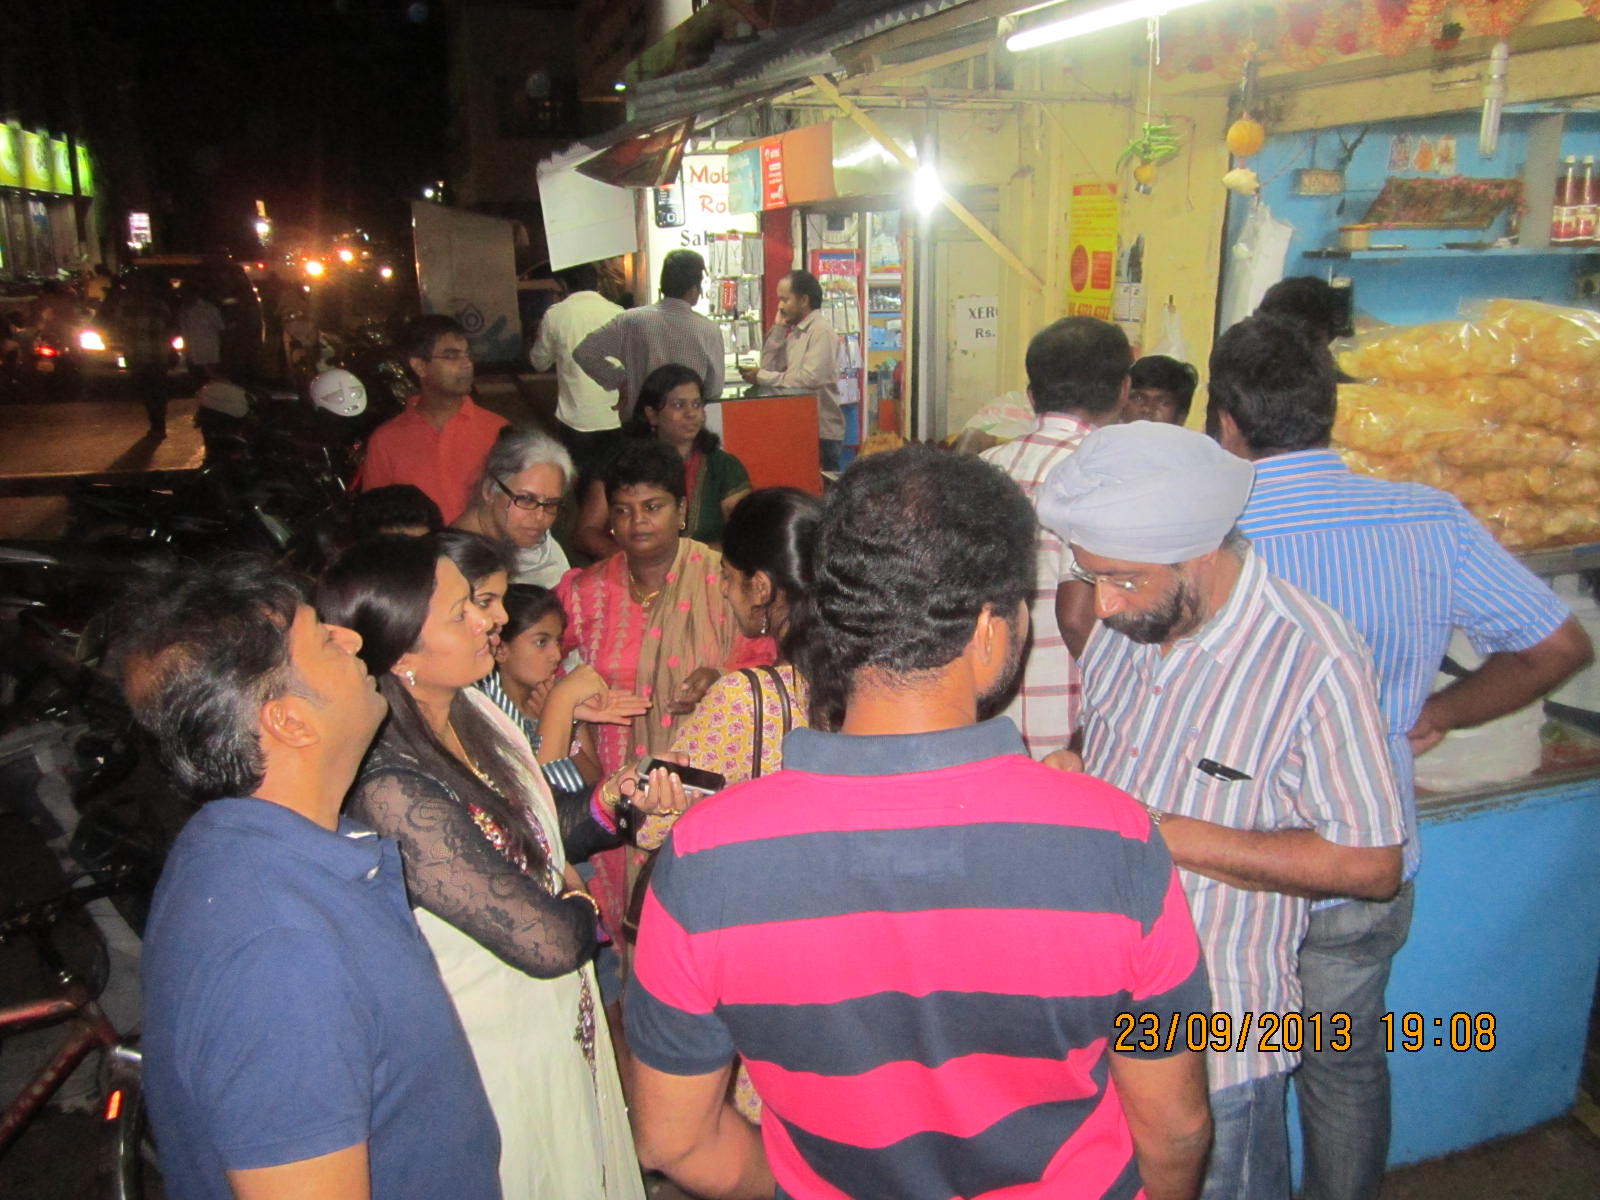
With all the kulfi and gola setting the sugar high in us, it was time to move on to a place that gave us some nice spicy sandwich and  vada pav -“Ridhi Sidhi Chat House”. Shankar the person who was at the counter made some most yummiest and tastiest sandwich’s and vada pav, was a bit camera conscious, but responded to all the question that I threw at him. He is basically from Bihar and moved to Coimbatore 4yrs ago. He is the one who makes 12 varieties of sandwich. The vegetable cheese sandwich that was recommended to us was nice and made of fresh vegetable.

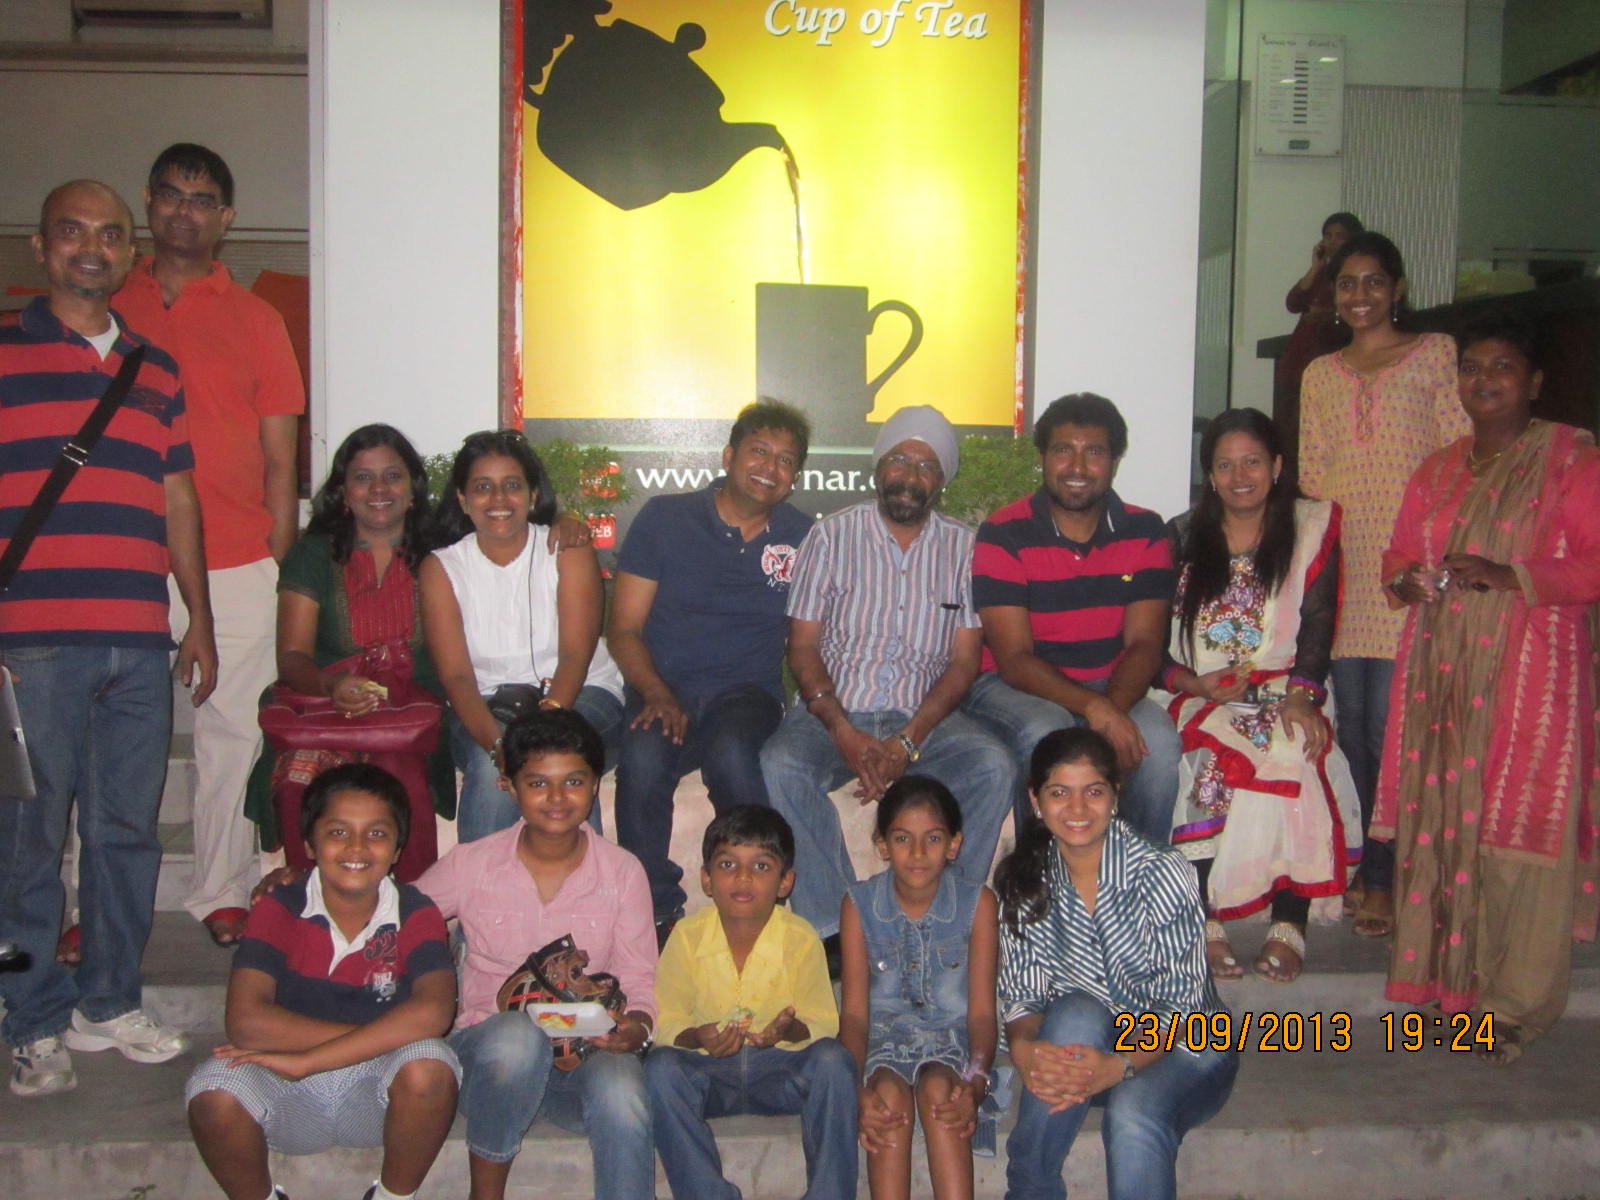
A good cup of tea was needed after all the food and walking we did. We walked upto “Chai and Gupshup”, adjacent to Ridhi Sidhi chat house and had some tea and the unique one being “Saffron Tea”.  With the taste of chai  in our mouth, all of us decided to call it a day for the first walk.

It was beautiful , fun and food filled evening and we made some very good new friends.  I was lucky to be a foodie who had a chance to meet beautiful like-minded foodies. Each and every person was enthusiastic about the walk and we promised to meet again, which we will do with many more foodies joining the food walk. We promised to make the next food walk even more a bigger event with many more foodies joining the group. Thank you Coimbatore and lovely people of Coimbatore for making me feel at home.

ImageImageImageImageImageImageImageImage 


Plantain Stem / Vazhaithandu Raita

Plantain Stem / Vazhaithandu Raita

Ingredients

1) Plantain stem 8-10  inch  in length

2) I bowl of curd

3) 1 green chili

4) Few Coriander Leaves

Method

1)   Cut the Plantain stem into tiny cubes.  Cutting the Plantain stem is a little tricky. Cut them into thin rounds first and try to pull out the fiber as much as you can with the help of a knife and later cut them to tiny cubes.

2)   Put this in salt water and leave it in that salt water for sometime.

3)   Take a bowl of curd, remove the plantain stem cubes from salt water and put them in the curd. Add the green chili, chopped coriander leaves and season with salt. Let it soak for a while (30mins+)  before it is served.

Health Benefits of Plantain Stem

PLANTAIN STEM / VAZHAITHANDU

A potassium rich food with high fiber content and it has many other amazing health benefits.

Most people include banana in their daily diet, but very few have ever thought of including banana stem. The banana stem has many nutritive and health benefits. The stem is usually thrown away once the fruit is cut from the plant. So next time if you happen to find one, think of including it in your menu. Here are some good health reasons why banana stem must be part and parcel of your diet at least on occasions.

Banana stem is rich in fiber and helps weight loss.  Due to rich content, it helps body to feel full faster.  The intake of food gets reduced by including banana stem to diet.  It can be taken in the form of juice, but eating it as a whole provides more benefits. Including it once or twice a week can help people looking for ways to cut down extra pounds.

Like banana, banana stem is also rich in potassium and vitamin B6.  Vitamin B6 helps production of chemicals such as hemoglobin and insulin. Again, it improves the ability of body to fight against infection. Potassium helps effective functioning of muscles including cardiac muscles, prevents high blood pressure, helps nerve impulses and maintains fluid balance within the body.

It is a diuretic and helps detoxify the body. Some believe that banana stem can prevent and treat kidney stones. This is fact under study and the effectiveness has not been proven by the western world.

It can be taken as a laxative for constipation. Again, the rich fiber content prevents constipation. It cools the body. So overall, banana stem does wonders to our body.

How to include them in diet? Very tender ones can be used in salads and not so tender ones can be added to soups or as a steamed vegetable.

Slicing banana stem for dishes might be hard work, but it provides unmatchable health benefits.Its a cooling agent to our body , so use it weekly twice is recommended.Image

Radish / Mullangi Raita

Radish/ Mullangi Raita

Ingredients :

3 Medium size Radish

1 cup Curd

1tsp  oil

1-2 dry red chili

few curry leaves

1/4tsp mustard seeds

1/4tsp Urad dal

Pinch of  Asafetida

Salt to taste

Method

Grate the Radish and squeeze out the juice from it. Add curd  and salt and mix well. Take a small pan, add oil, when the oil is hot add the mustard seeds and when the mustard seeds splutter, add the urad dal,  dry chili, curry leaves and finally the asafetida.  Pour the oil with the seasoning on the radish curd miture and stir well.

Healthy salad/  Raita ready .

Health Benefits of Radish / MullangiImage

The health benefits of radishes have been known for millennia. Radishes have been used as both a food product and a medicine since before the Roman Empire.

Radishes are a root vegetable, originally cultivated as a crop in Europe and China. A member of the Brassicaceae – kale, broccoli, cabbage – family, the radish is a common vegetable consumed around the world because the plant is extremely fast growing. When seeds are planted, sprouts appear in as little as three days.

Radishes are one of the most ignored vegetables on your local produce aisle and they shouldn’t be! Radishes are extremely low in calories, naturally fat-free and carry a low glycemic load.

The Good Stuff in Radishes

  • Fiber
  • Vitamin C
  • Folate
  • Potassium
  • Magnesium
  • Copper
  • Calcium
  • Manganese
  • B vitamins

You simply can’t go wrong with adding this tart veggie to your total nutrition plan! Thin-sliced, radishes make a good snack option that preserves well. A cup of radishes contains only 19 calories!

They are also delicious tossed over salad or added to soups or stews. Mix shredded radishes into potato or macaroni salads.

Radishes: Big Health Benefits in a Little Package

Fight Cancer

Researchers at India’s Jawaharlal Nehru Technological University found that radishes induce apoptosis – meaning they kill cancer cells. Compounds called isothiocyanates and anthocyanins are found in abundance in radishes and have been proven effective in the fight against cancer in several studies. The study was published in the medical journal Plant Foods for Human Nutrition in 2010. Their fiber content makes radishes particularly effective at preventing and fighting colorectal cancer.

Respiration

If you have chronic bronchial flare-ups, sinus infections or asthma, radishes can act as a natural decongestant.

Healthy Heart

The fiber, vitamins and minerals in radishes make them a smart choice for cardiovascular health. They’ve been shown to lower cholesterol, manage diabetes and regulate blood pressure and blood sugar levels.

Digestion & Detoxification

Your liver and gallbladder depend on bile to keep them running smoothly, and radishes have been shown to stimulate bile production. The sulfuric properties of radishes also help regulate bilirubin production and flush the excess from your blood. Left unchecked, this compound results in jaundice. The fiber content regulates bowel movements to flush toxins more efficiently and to help prevent constipation.

Research is currently being done on the black radish to verify that it increases oxygen in the blood and protects red blood cells from damage.

Weight Loss

The water and fiber content make radishes surprisingly filling, and the lack of calories puts them at the top of the “best diet” foods. The surprising number of nutrients found in these small vegetables means you aren’t skimping on nutrition while cutting back on fats, sugars and carbs. They hold up well and can be eaten raw or cooked. They add a unique flavor to many foods.

Kidney Cleanse

There are few foods that work as well as the radish at preventing urinary tract infections (UTIs). Drinking juice that includes radish eases the burning most experience during a UTI and shortens the length of time you’ll have to deal with the infection.

If you haven’t given these little root vegetables a chance, why not try adding them to your meal plan? The health benefits of radishes have been proven in countless studies and more research is being done all the time to find more medicinal uses.

Radishes may be small…but they certainly pack a punch!

Stuffed Bhindi/Okra Fry

Stuffed Bhindi/Okra Fry

Ingredients

1/2kg Small tender Bhindi/Orka

200gms of Besan/ Gram flour

1tbsp coriander seed/Dhanya powder

1tsp  Jeera / cumin powder

1tsp Turmeric powder

2tsp of Chilli powder

1tsp Amchur/ dry mango powder (optional)

1/4tsp of Hing / asafoedita

1tsp or according to your taste salt (I am a little conservative in using salt)

2tbsp of any oil to cook. ( I Use olive oil)

Method

Wash  and dry the Bhindi/okra. Cut the crown and tail of the Bhindi/Okra. Slit the Bhindi/Okra length wise from one side and keep it aside.

Take all the dry ingredients and mix them well and check the salt and chilli. You may add more of chilli or salt if you may need. Open the slit side of the Bhindi/Okra gently and fill it with the dry masala.

Take a non-stick pan, pour the oil and ensure that you spread the oil to every corner of the pan. Place the Bhindi one by one on the hot pan and  shallow fry. Do NOT cover the pan with the lid, it has to be cooked in an open pan on low flame. Turn the side when you feel one side is cooked and browned a little.

Can be eaten with Dal and Rice or Roti.Image

Gulab Jamun Cheesecake

Ingredients

Gulab Jamum   – 300gms small one’s, they are called Angur Jamun and A2B.

Fresh Cream – 400 Gms

Amul/Brittania Curd –  200gms  (Drain through a Muslin Cloth )

Powdered sugar – 200 gms – 1cup

Gelatine – 15 gms – 3 tsp

Water – 50 ml

Vanilla  Essence – 1 tsp

Everst Milk masala – 2 tsp boiled in 5 tbsp of milk

For the Base1 packet Digestive Biscuits crushed & mixed with 50 Gms melted Butter . Line the spring back pan with the above mixture & freeze it.

Method

Melt gelatine with warm water & melt over Double boiler. Beat Cream with sugar over bed of ice till peaks form. Blend in melted gelatine , blend once again  adding in Milk masala and milk Mixture , essence , hung curd.  Cut the Gulab Jamun’s to half and arrange above the biscuit base which is by now nicely frozen .Pour the mixture into the frozen tin, cover & chill in fridge over night.ImageImageImage

Garnish it  with gulab jamun before  or after you remove from the mould.

Easy Pressure cooker – Rasagulla

Rasagulla

Ingredients:

Milk (1 litre) – We use only Aavin Blue Packet milk (4.5% fat I think)

Juice of 1lime

Water – 500ml

Sugar ¼ kg or as per your taste.

Rose water: few drops or  Elaichi (3-4)

Procedure:

Boil the milk. Once it is well boiled, reduce the flame and slowly add the lime juice till the milk starts curdling. Stir the milk slowly till the milk curdles completely. Switch off the gas and pour the curdled milk (chenna) on a muslin cloth. Pour the ice water over the chenna in the muslin cloth and wash well so that the sourness due to the vinegar will go away. Drain out all the water and hang the cloth at least for 20 min so that all the water is removed. Now your chenna is ready. Knead the chenna gently. Do not knead it hard. Make small balls of chenna. It should be smooth and there shouldn’t be any cracks.

In a pressure cooker take water (sufficient to cover the Rasagullas) and mix the suga and Elaichi in it. Add the chenna balls and pressure cook for 1 whistle in a medium flame. And then 5 min in low flame and switch off the gas.. Once the pressure drops completely, open the pressure cooker.  You may add few drops of rose water.Image

Mutton Ularthiyathu or Dry mutton (Kerala Style)

Preparation Time: 1 hour

Cooking Time : 20 minutes

Serves: 4

Ingredients :

To Marinate :

Mutton : 1 kg (cut into small cubes)

Red Chilli powder 4 tbsp or to your torelance level

Garlic : 2 tbsp (crushed)

Ginger : 2 tbsp (crushed)

Curry leaves :1 sprig

Vinegar : 2 tbsp

Salt to taste

For Saute:

Shallots  1 1/2 cup (thinly sliced) or Onion : 11/2 cup (thinly sliced)

Green chilies : 4 nos or to taste (split length-wise)

Curry Leaves : 2-3 sprig

Thin Coconut Slices : 1/2 cup

Coconut Oil : 1/2 cup

To Dry Roast & Grind Coarsely :

Freshly Crushed Peppercorns : 1/2 tsp

Fennel seeds : 1/2 tbsp

Cinnamon Stick : 1″ piece

Clove : 4 nos

Cardamom : 4 pods

Method of Preparation :

1. Wash and chop mutton to small sized cubes;  drain it and set it aside.

2. Heat a pan on a medium heat till hot. Reduce the flame to simmer and dry roast the ingredients listed above ‘To  Dry Roast & Grind’ on the pan. Stirring often till the spices give off their aroma and begin to get slightly darker; remove from fire. Allow to cool.

3. Grind the above roasted spices into a coarse powder.

4. Marinate the mutton pieces with above roasted spices and the listed ingredients “To marinate ‘ and refrigerate it for about 1/2 to 1 hrs

5. Pressure cook the marinated mutton pieces without adding any water for about 2-3 whistles or put the above marinated mutton piece into a large deep vessel without adding any water and cook on a medium flame till the meat is tender. (Note :  Do not add any water as the meat will give off its own juices.)

6. When it done or when the pressure settled down open the cooker and cook uncovered in a medium-low flame till all water in it is evaporated and mutton pieces become almost dry.

7. Meanwhile heat the pan with 3 tbsp of oil and fry the coconut slices to light brown color, remove and transfer it a paper towel.

8. In the same pan add the reamaing oil and add finely chopped shallots/onions and green chilies and saute untill turns to transulcent and brown in color, now add the curry leaves and saute for couple of minutes.

9. Now add cooked mutton pieces and combine well and roast it over medium-low fire till it turns dark brown in color.

(Note : Stir in between to avoid burning and it takes 15 minutes approximately)

10. Once the mutton starts to dry and have attained the dark brown color then add fried coconut slices and combine well.

ImageImage

Garlic pull Apart Rolls

Garlic Pull-Apart Rolls

Makes 8 mini rolls

Ingredients:

Plain Flour – 1 Cup

Wheat Flour – ½ cup

Warm Water- 1/2 cup + 1 tbsp

Yeast – 1/2 tbsp

Salt – 1tsp

Sugar – 1 tbsp

Olive Oil – 1 tbsp + 1 tsp

For Garlic Spread:

Salted butter, at room temperature – 6 tbsp

Minced garlic – 2 tbsp

Chopped coriander leaves – 2 tbsp

How to Make Eggless Garlic Pull Apart Rolls

1. Mix flour, yeast, warm water, salt and sugar together until you get a smooth, slightly stick dough.

2. Add oil to your fingertips and knead until the dough springs back when you press with your fingers – about 4-5 mins.

3. Wrap in cling film and allow to double by keeping in a warm place for about 45 mins. Meanwhile, make the garlic spread by simpy mixing all the ingredients.

4. Grease a baking pan or loaf tin with olive oil. I used my Pyrex loaf pan which was the perfect size for 8 mini garlic rolls.

5. Knock down the air in the dough and divide the dough into two equal portions.

6. Transfer one portion of the dough to a floured surface and roll gently into a rough rectangle of 1/2″ thickness. Apply more flour sparingly if sticky.

7. Spread about 2 tbsp of garlic spread on one side.

8. Roll from one end gently and firmly.

9. Cut into half and then each half again into two halves to get 4 equal portions.

10. Now place the rolls with the cut side up in the greased pan.

Repeat the same procedure for the remaining dough.

11. Spread a little milk on the rolls and add the remaining garlic spread on top. I am sure sesame seeds as Su has added will make the flavour even better .

12. Allow to rise for another 20 minutes. In the mean time preheat the oven to 180C / 375F.

13. Bake for about 30 mins until the top is golden brown. My Pyrex glass pan usually takes longer to bake in, so mine took about 35 mins to bake just right.

Notes:

1. The amount of water depends on the type of flour you are using. Use your judgment to get a slightly sticky dough that behaves when you apply oil.

2. The amount of yeast can be reduced if you don’t like the flavour of yeast too much in your breads. You can add just 1 tsp and let it double over a couple of hours, slowly.ImageImageImageImage